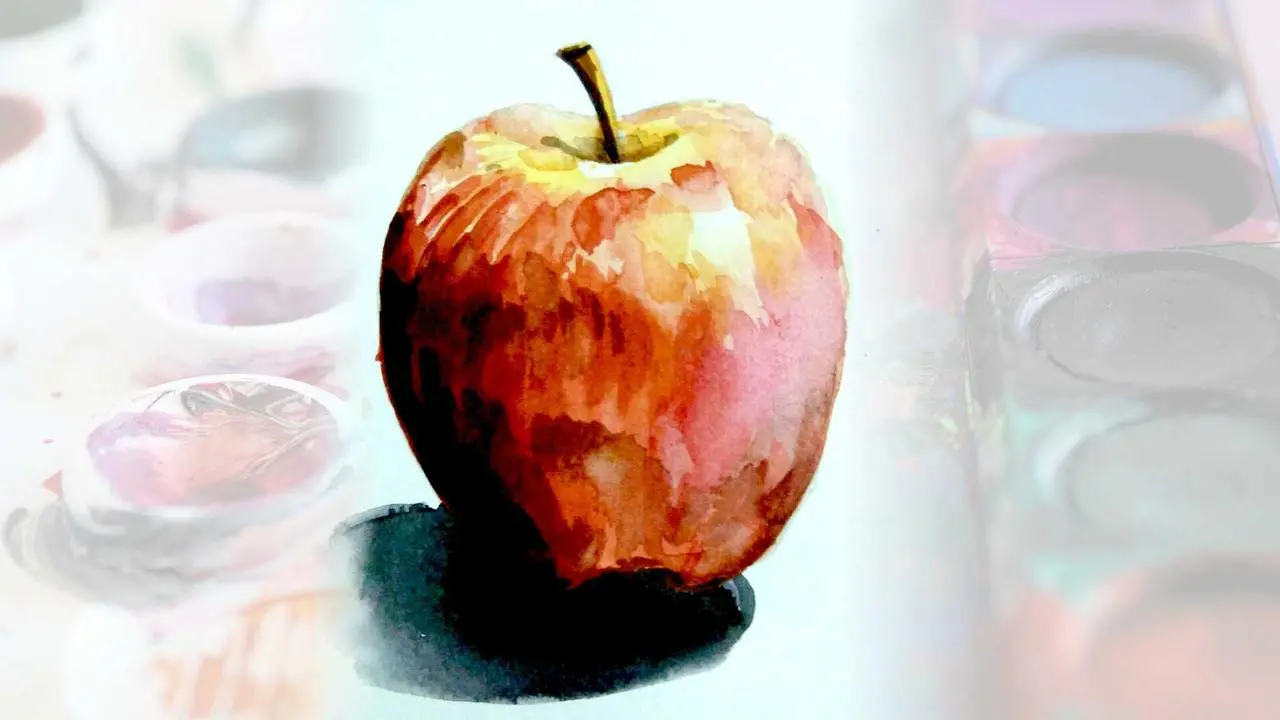
In my previous post, I discussed the general steps for coloring using water colors. I also mentioned the materials required for water coloring. In this post, we apply those steps and create our first watercolor painting. So, just follow along to paint a delicious apple!
Shades I used: Crimson Red, Gamboge Hue, Sap Green, Burnt Sienna, Prussian Blue, Yellow Ochre.
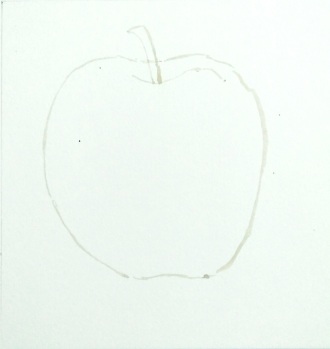
- STEP 1. Draw an apple. Keep your pencil lines as light as possible. Keep it simple. You may also use a reference photo or the best thing is to have a real apple as a reference.
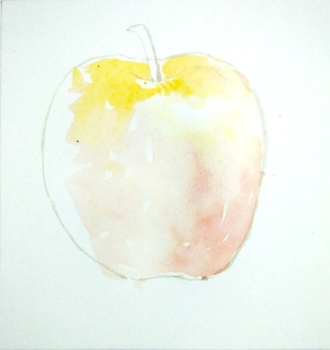
- Step 2. Decide the direction of light in your composition. Paint the area where the light is falling directly, leaving a small patch of white for the shiny patch of light on the apple skin. you may apply combinations of Crimson Red, Yellow Ochre, Sap Green and Gamboge Hue.
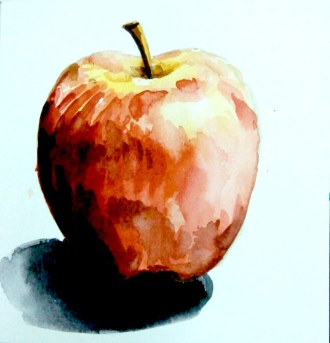
- Step 3. keep applying darker shades of colors while moving towards the shady side of the apple. You can achieve this by mixing Burnt Sienna or Prussian blue with crimson red.
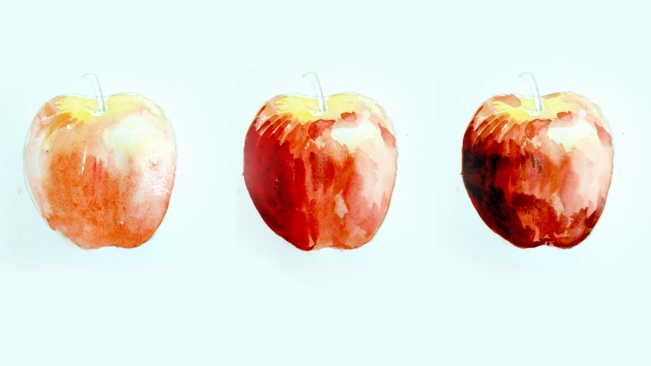
- Step 4. Paint a circular shadow around the bottom of the apple. Colors for shadow – mix up the complementary colors or the primary colors to achieve the gray shade.
- Step 5. apply your final touch ups – but do not overdo anything. It is also important to know when to stop. This is the final product.
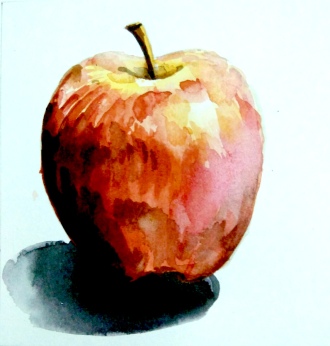
Congratulations you created your first watercolor painting! Happy Practicing!!!!! 😀

4.5
LikeLike
5
LikeLike
5
LikeLike